It’s very rare these days to find a company with over 100 years of history and experience, especially ones that are still surviving and thriving. Frankly,. it’s a dog-eat-dog world out there and any company that can even stay afloat for 10 years should be considered a huge success let alone any company with over 100! For Acme Smoked Fish, it’s a company that was founded all the way back in 1906 in Brooklyn, New York by Harry Brownstein and is now a fourth-generation, family-owned smokehouse that specializes in smoked salmon and other types of smoked fish that has literally been feeding its customers for over a century! A Century!!!!
Their smoked salmon and other specialty smoked fish can already be found in restaurants, retailers, and bagel shops alike from coast to coast in the United States, and just last year they also launched their e-commerce business where they are now able to deliver fish from their smokehouse directly to homes all around the U.S. From keeping up with their traditions that have marked their past, inspire their present, and shape their future, the fact that they are able to adapt with the changing times and modern technologies have allowed Acme Smoked Fish to continue to find success decade after decade after decade.
With their stellar reputation in the seafood industry in having some of the best smoked fish in the world, not only do our neighbours down south get to enjoy these great products, we can now enjoy them here in Toronto as Acme has just recently expanded their reach to the Great White North. You’ll now be able to find some of their signature smoked fish in several retailers here across the city!
In fact, I thought Smoked Salmon was really just of one variety. A rookie’s mistake. If you visit their website you will literally see an endless variety to choose from. Options for all kinds of taste buds. Some of which can now be obtained in Toronto which includes:
Smoked Atlantic Salmon
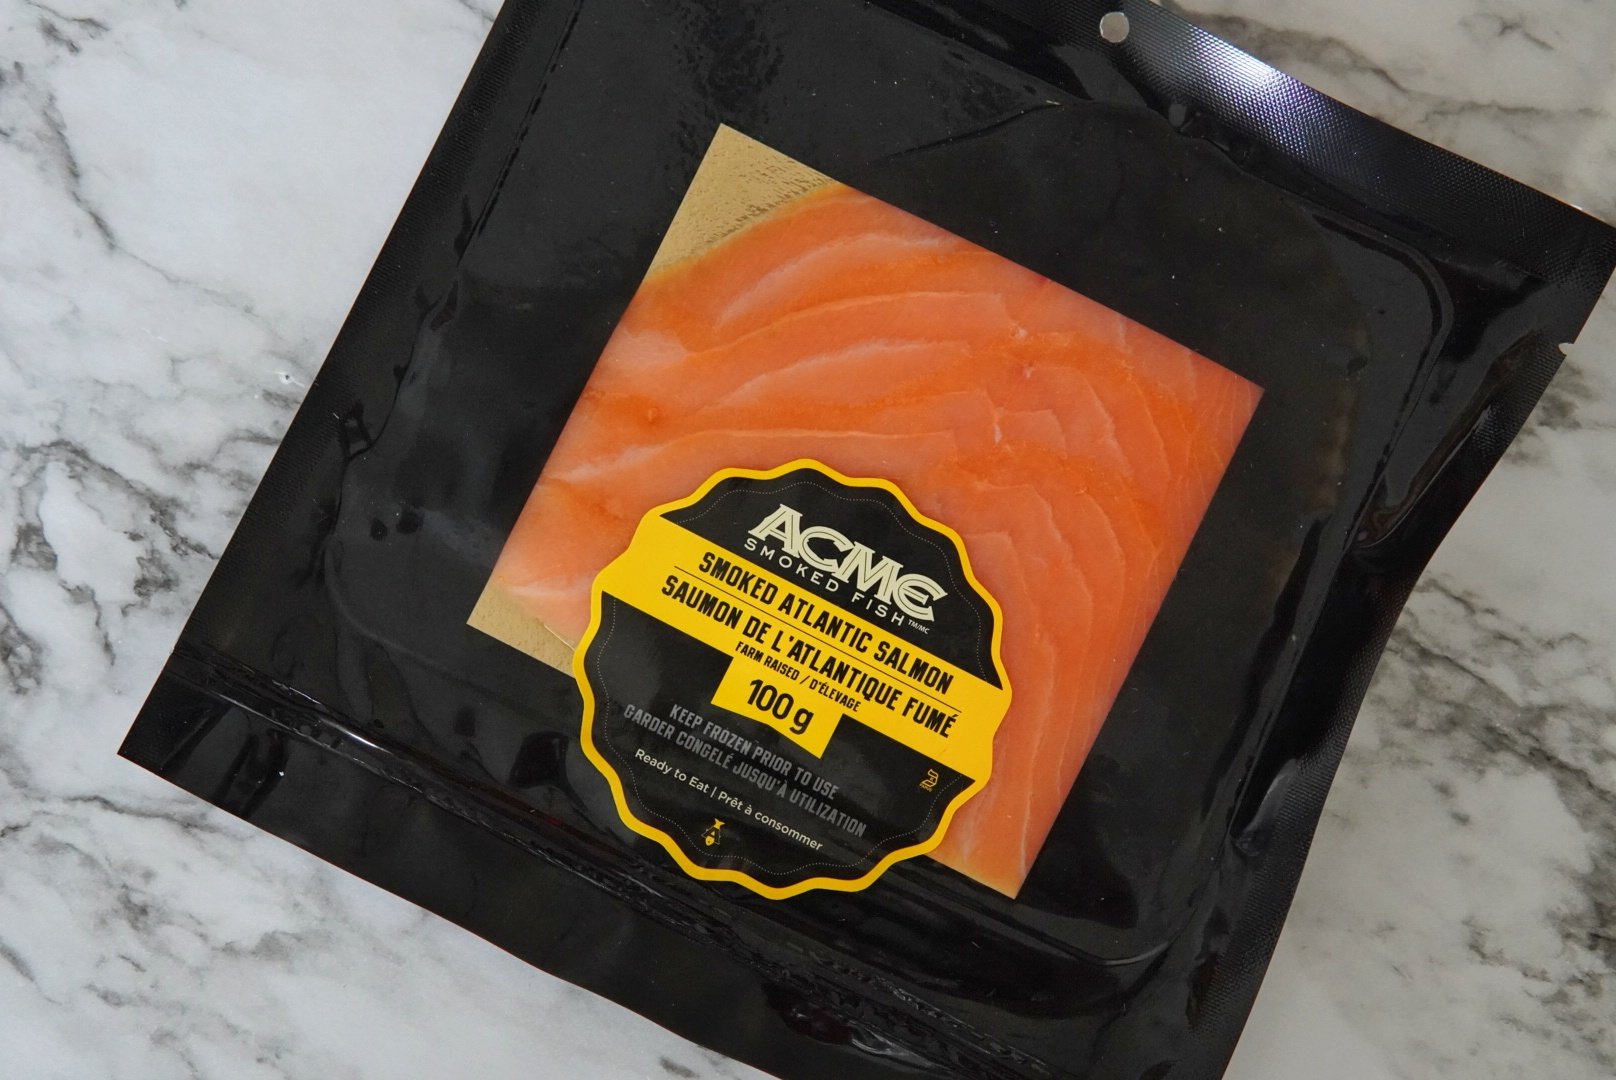
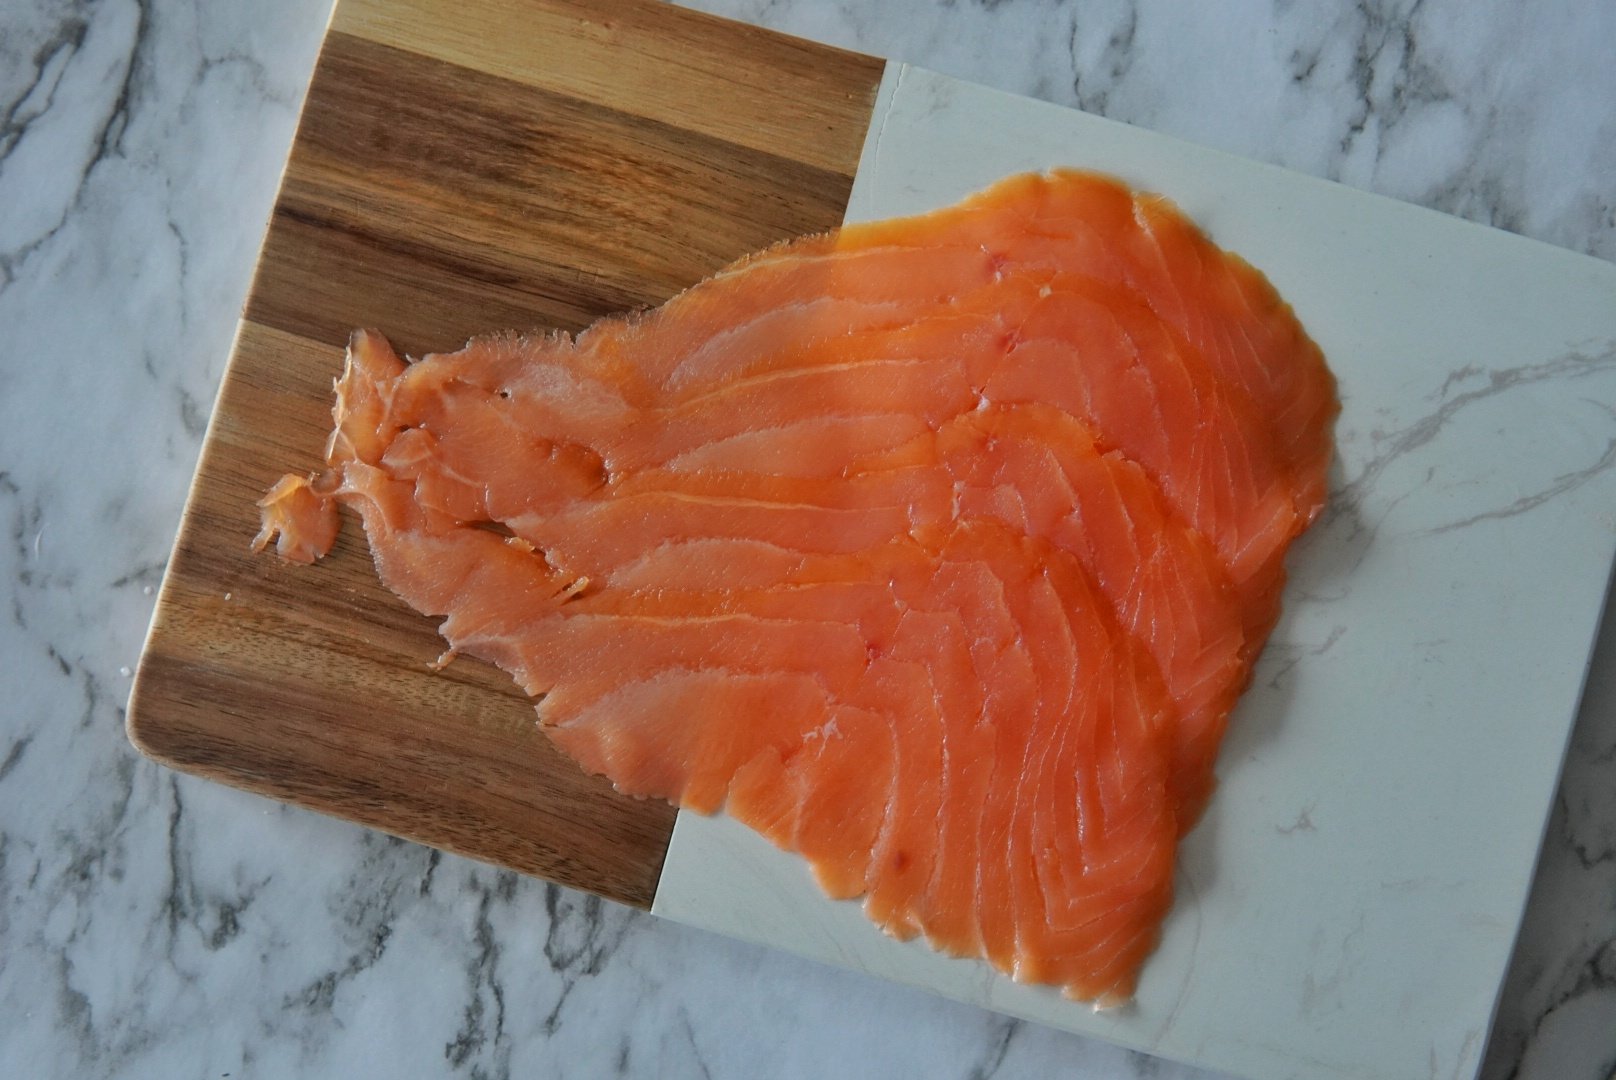
Lox or Nova or Smoked Salmon, whatever you call it, this is the gold standard of smoked fish. Each succulent ribbon of smoked salmon reveals the perfect balance of a rich yet delicate smoked fish flavor as it melts away in your mouth with its buttery smooth texture and light hint of hardwood smoke. This family smoked salmon recipe, perfected and passed down through generations, uses carefully selected salmon prepared with a traditional dry curing method and then cold smoked over blends of natural hardwoods. This renowned Acme Classic Smoked Salmon is a result of true Brooklyn smoked fish craftsmanship. Enjoy this classic smoked fish taste of New York all the way here in Toronto.
Smoked Atlantic Salmon with Gravlax Seasoning
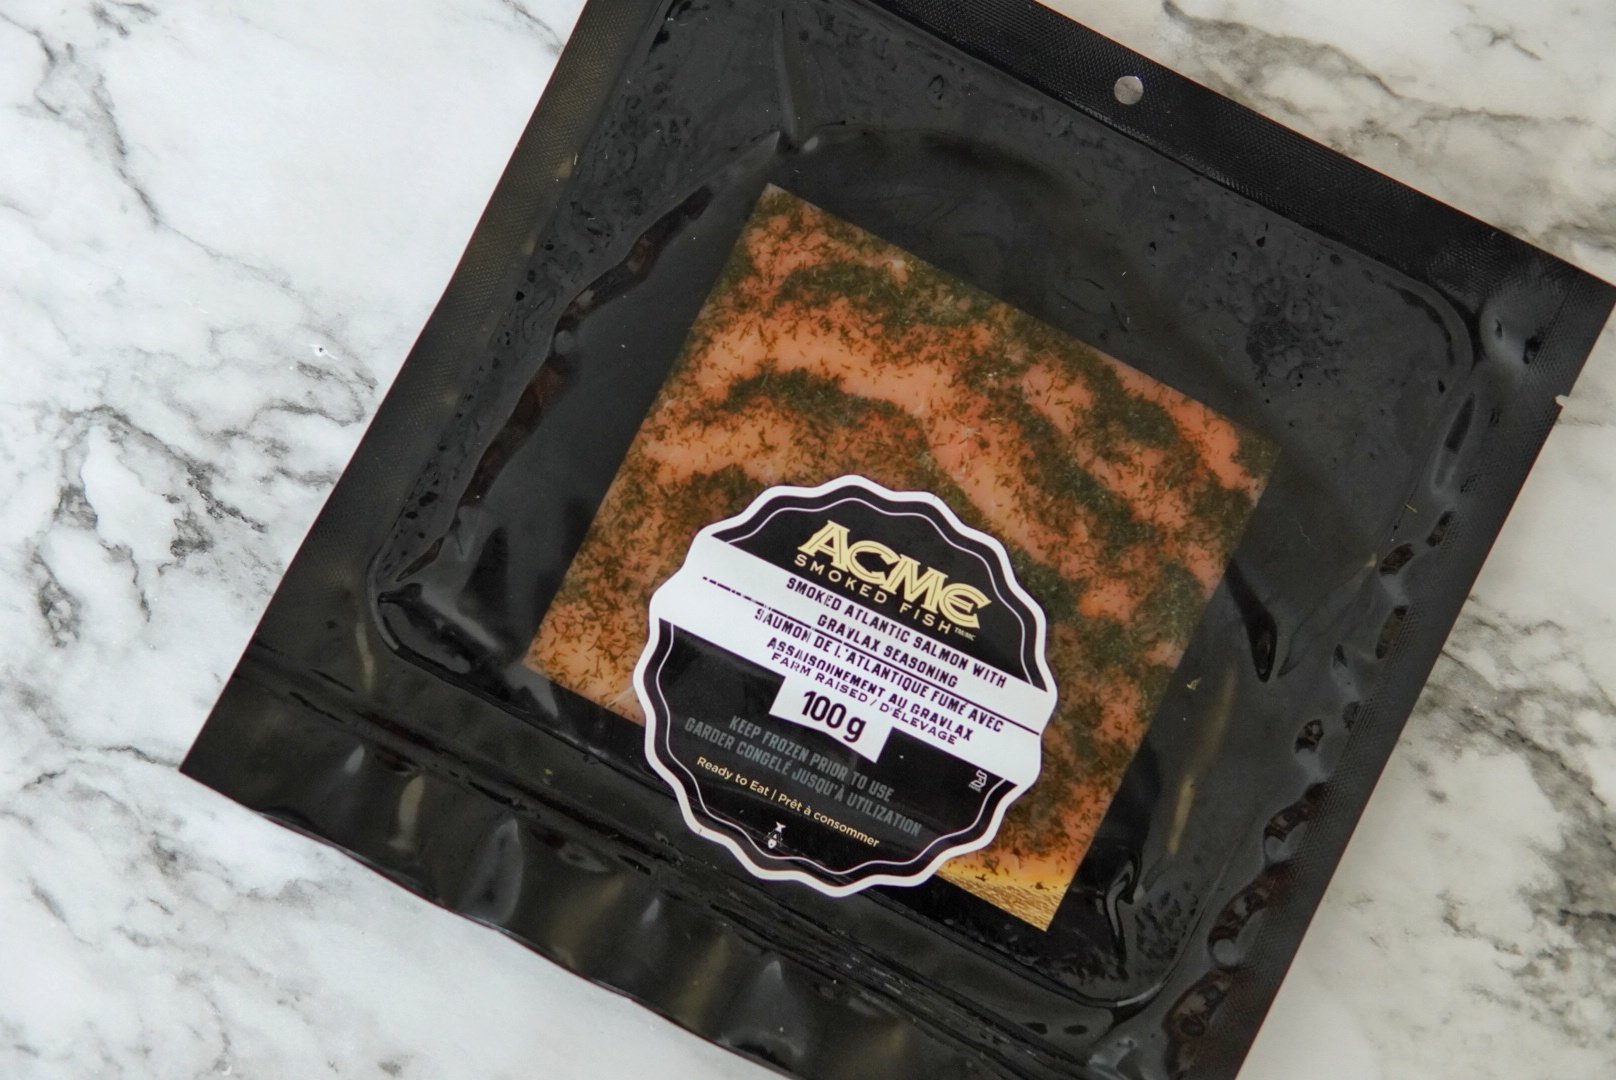
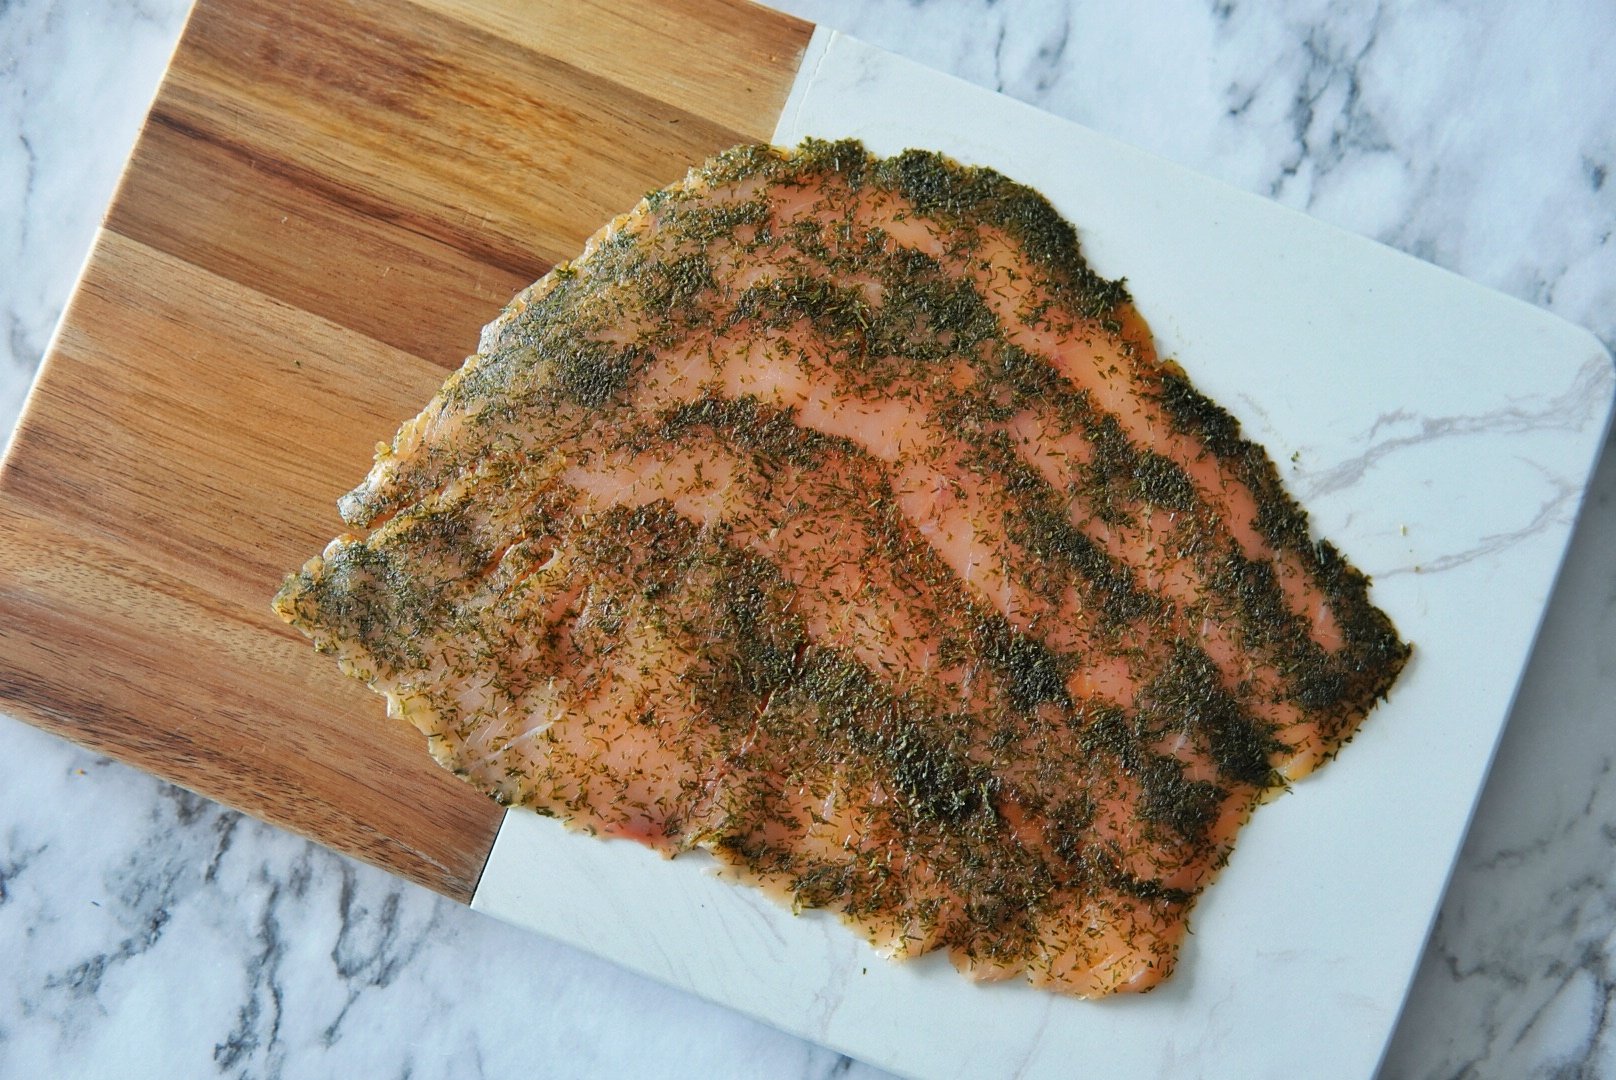
The tantalizing aroma of a traditional Scandinavian specialty with a Brooklyn smoked fish twist, Acme’s Gravlax smoked salmon is a delectable contrast of rich color, flavor and texture to add to any smorgasbord. Lightly smoked salmon is enveloped in fresh dill and carefully sliced for a bright and delicate savory smoked fish bite.
Smoked Atlantic Salmon with Togarashi Seasoning
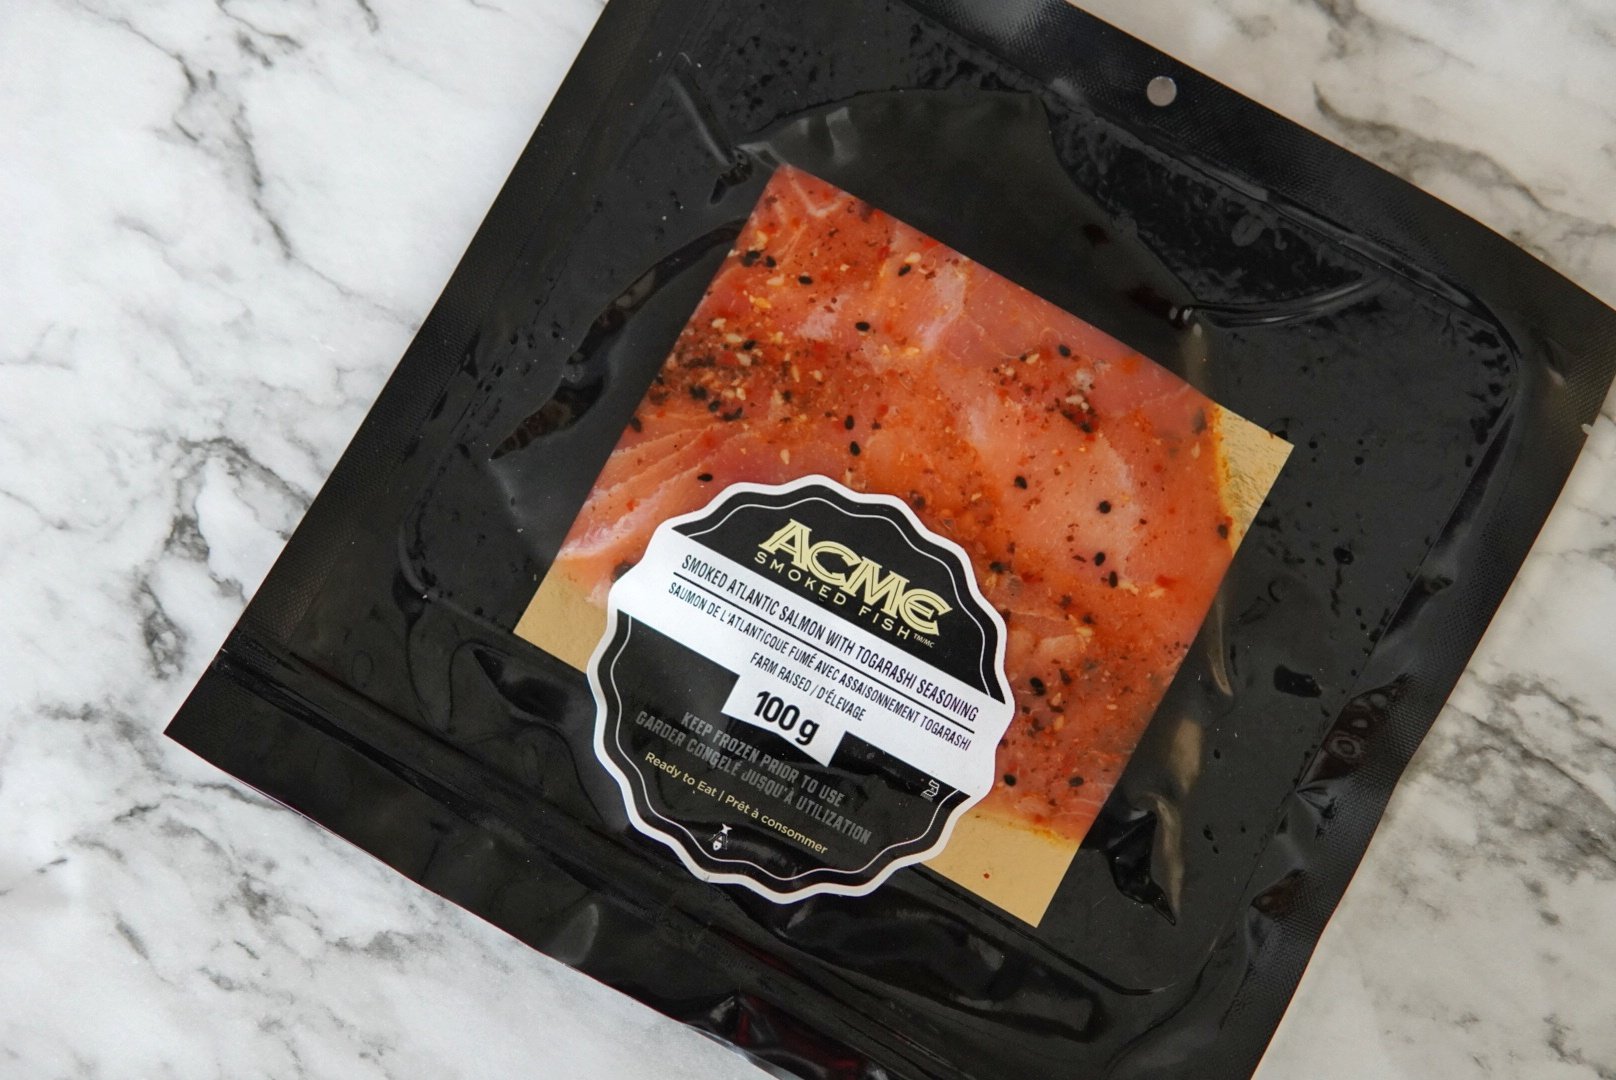
Inspired by the Japanese seasoning shichimi togarashi, meaning “seven-flavor chili pepper”, Acme Smoked Fish’s Smokehouse Exclusive Togarashi Smoked Salmon is a multifaceted flavor experience! Lightly spicy, with a tang of citrus and ginger, and rounded out with umami notes that hint of seaweed, this delightfully complex spice complements Acme’s delicate smoked salmon.
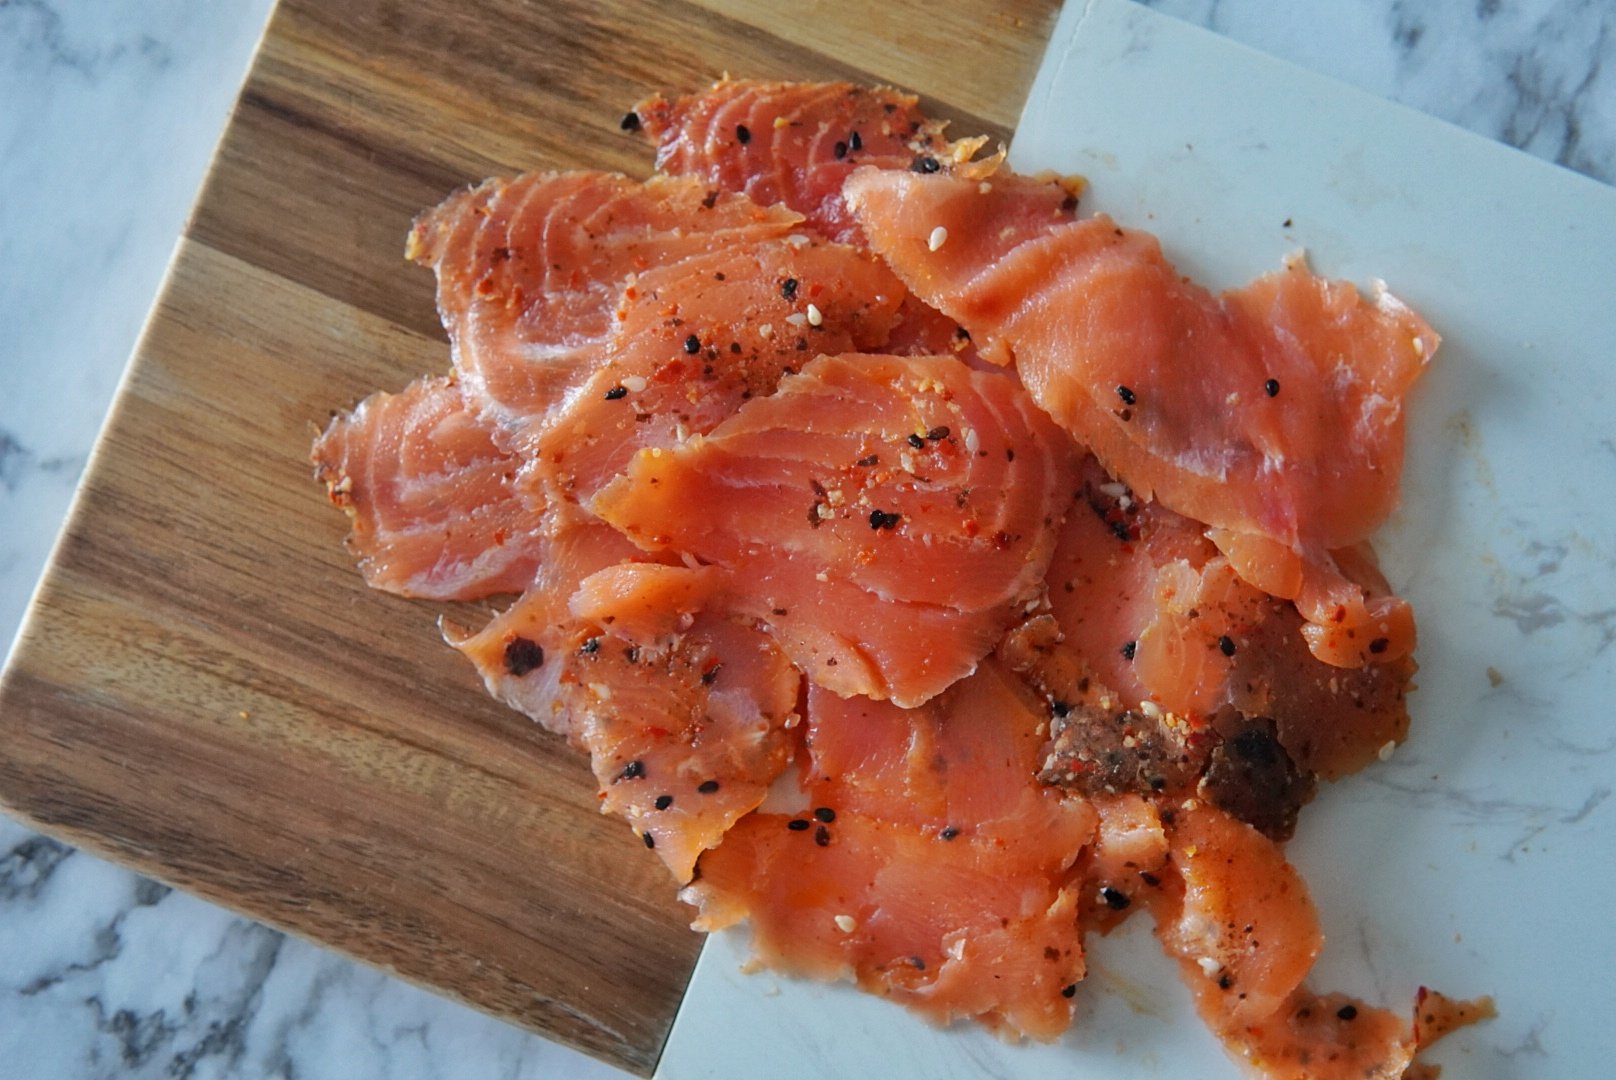
Smoked Atlantic Salmon with Pastrami Seasoning
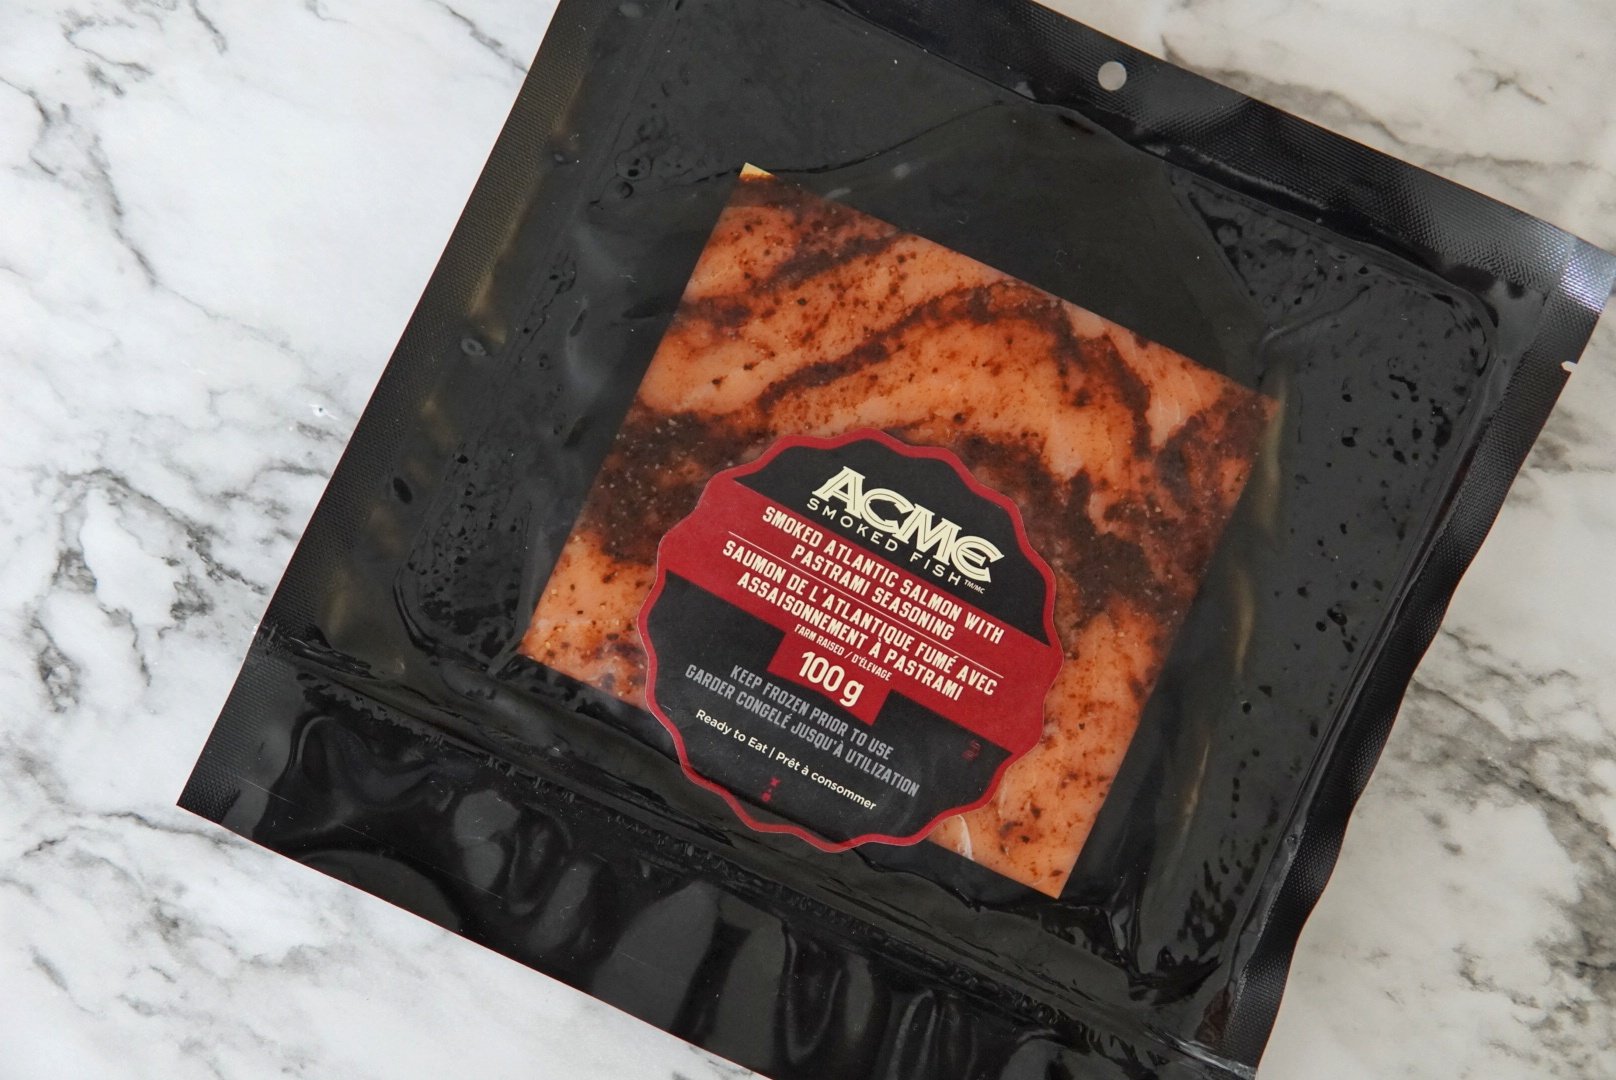
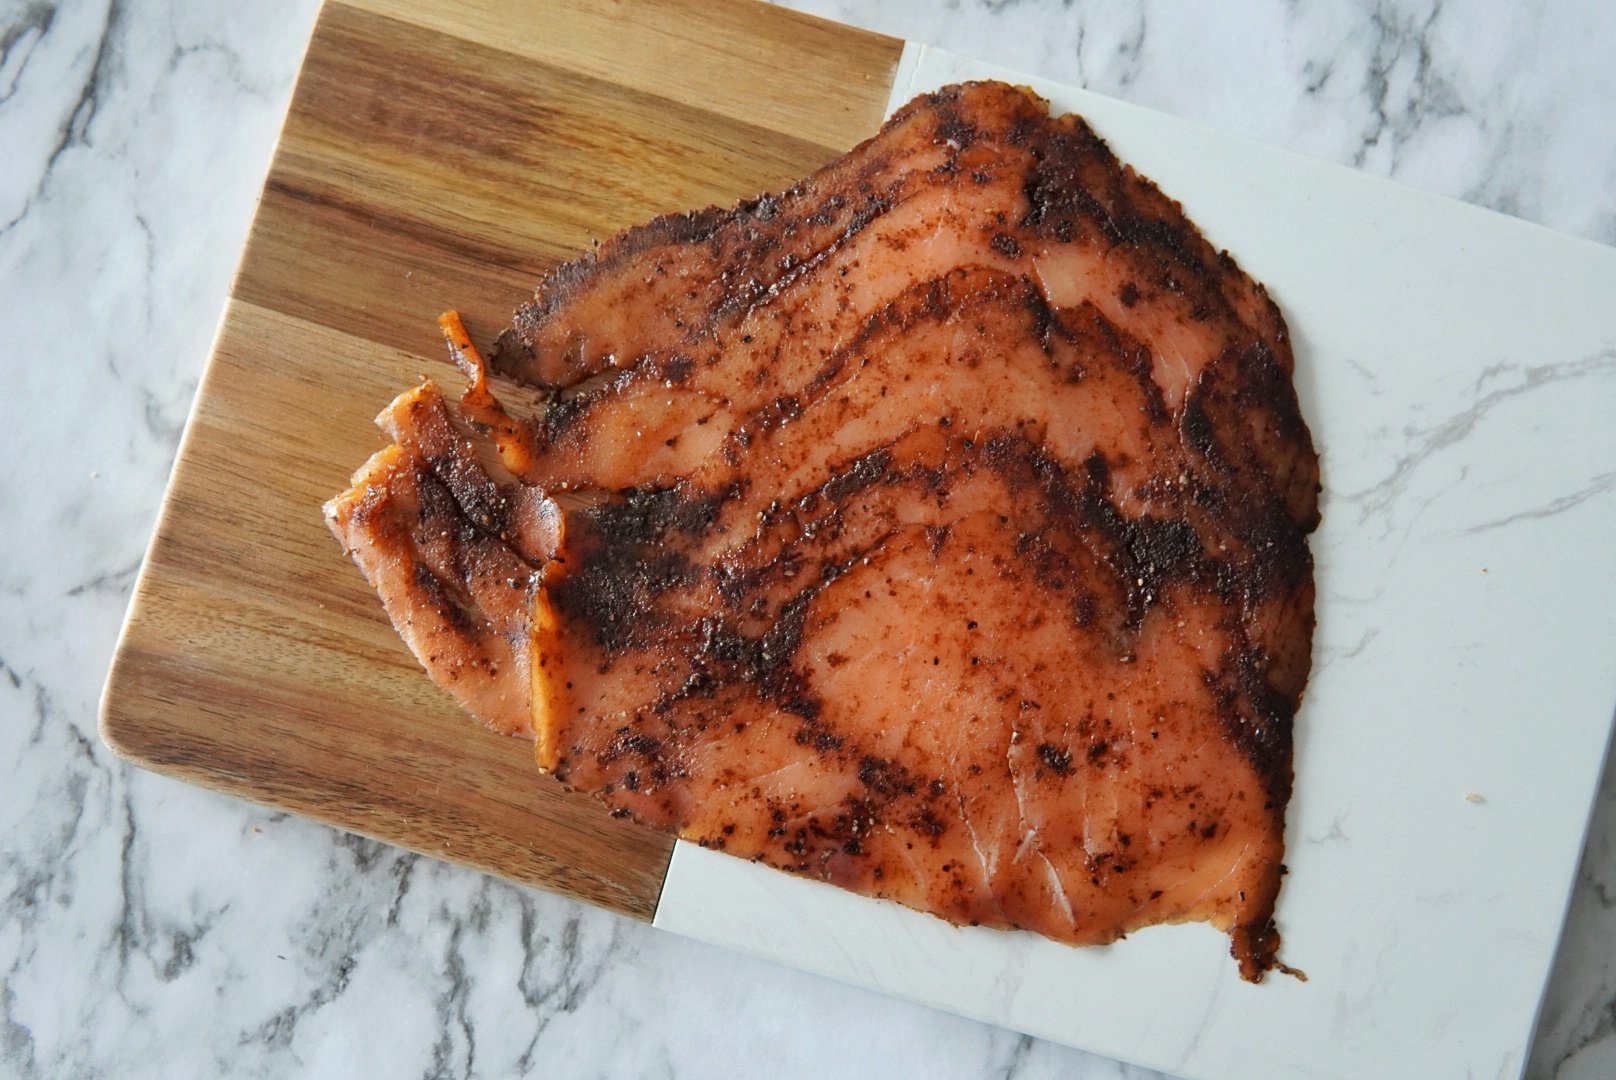
Combining two iconic tastes of New York, traditional pastrami spices are added to the signature smoked salmon of Acme Smoked Fish. The result is a peppery, tangy, smoked fish flavor experience with just a hint of smoke. Enjoy this smoked salmon on a bagel, cracker, or classic rye bread for the full pastrami experience.
Smoked Whitefish (bone-in, fully cooked)
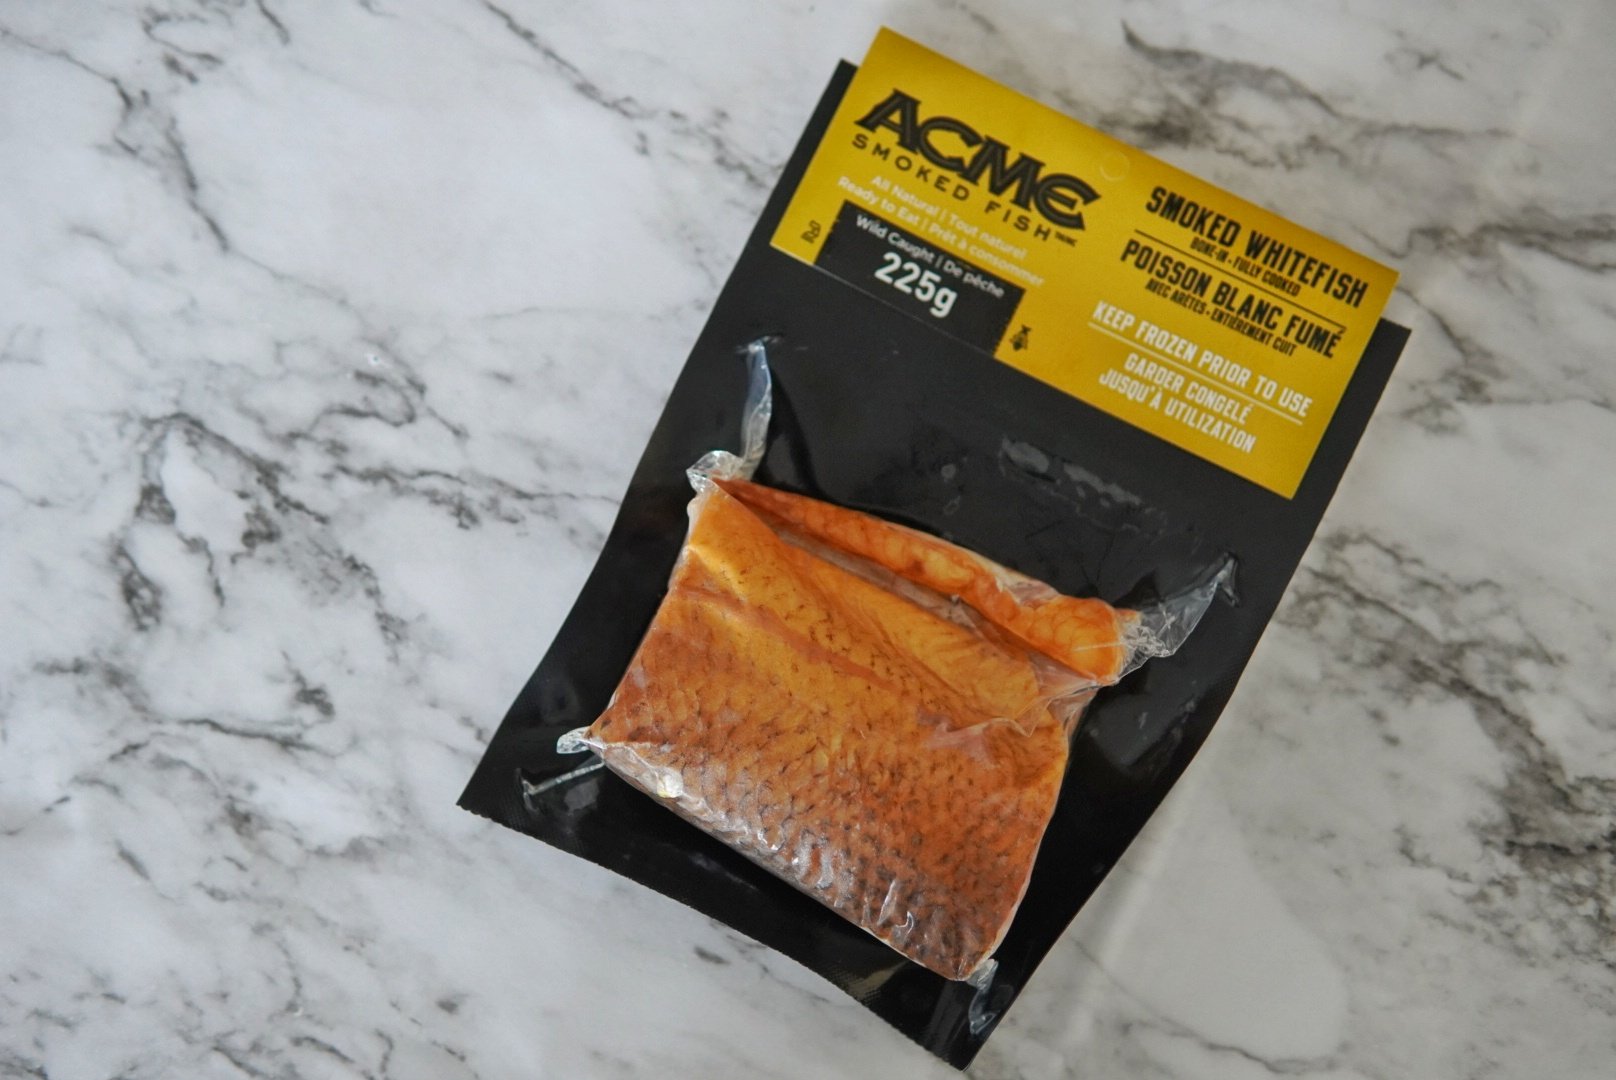
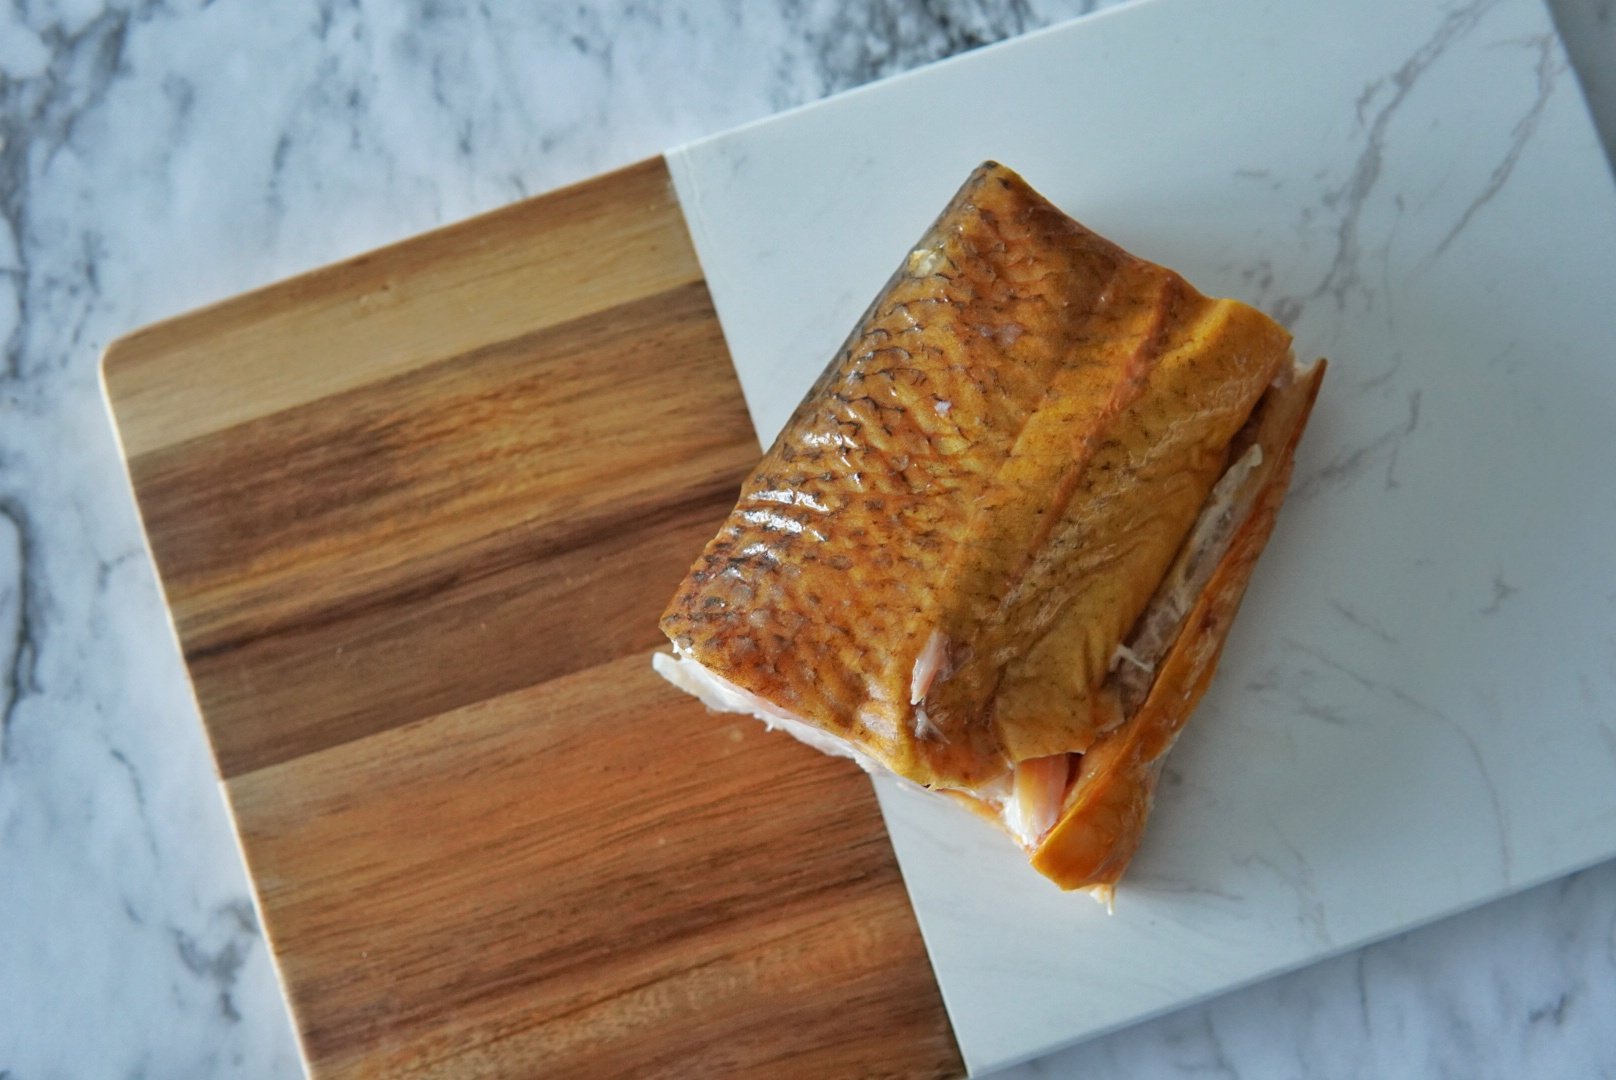
Acme’s hot smoked wild caught whitefish is bursting with rich flavors steeped in tradition. This golden, white-fleshed, fresh water fish from the Great Lakes provides a delectable smokey flavor that is perfect for any meal.
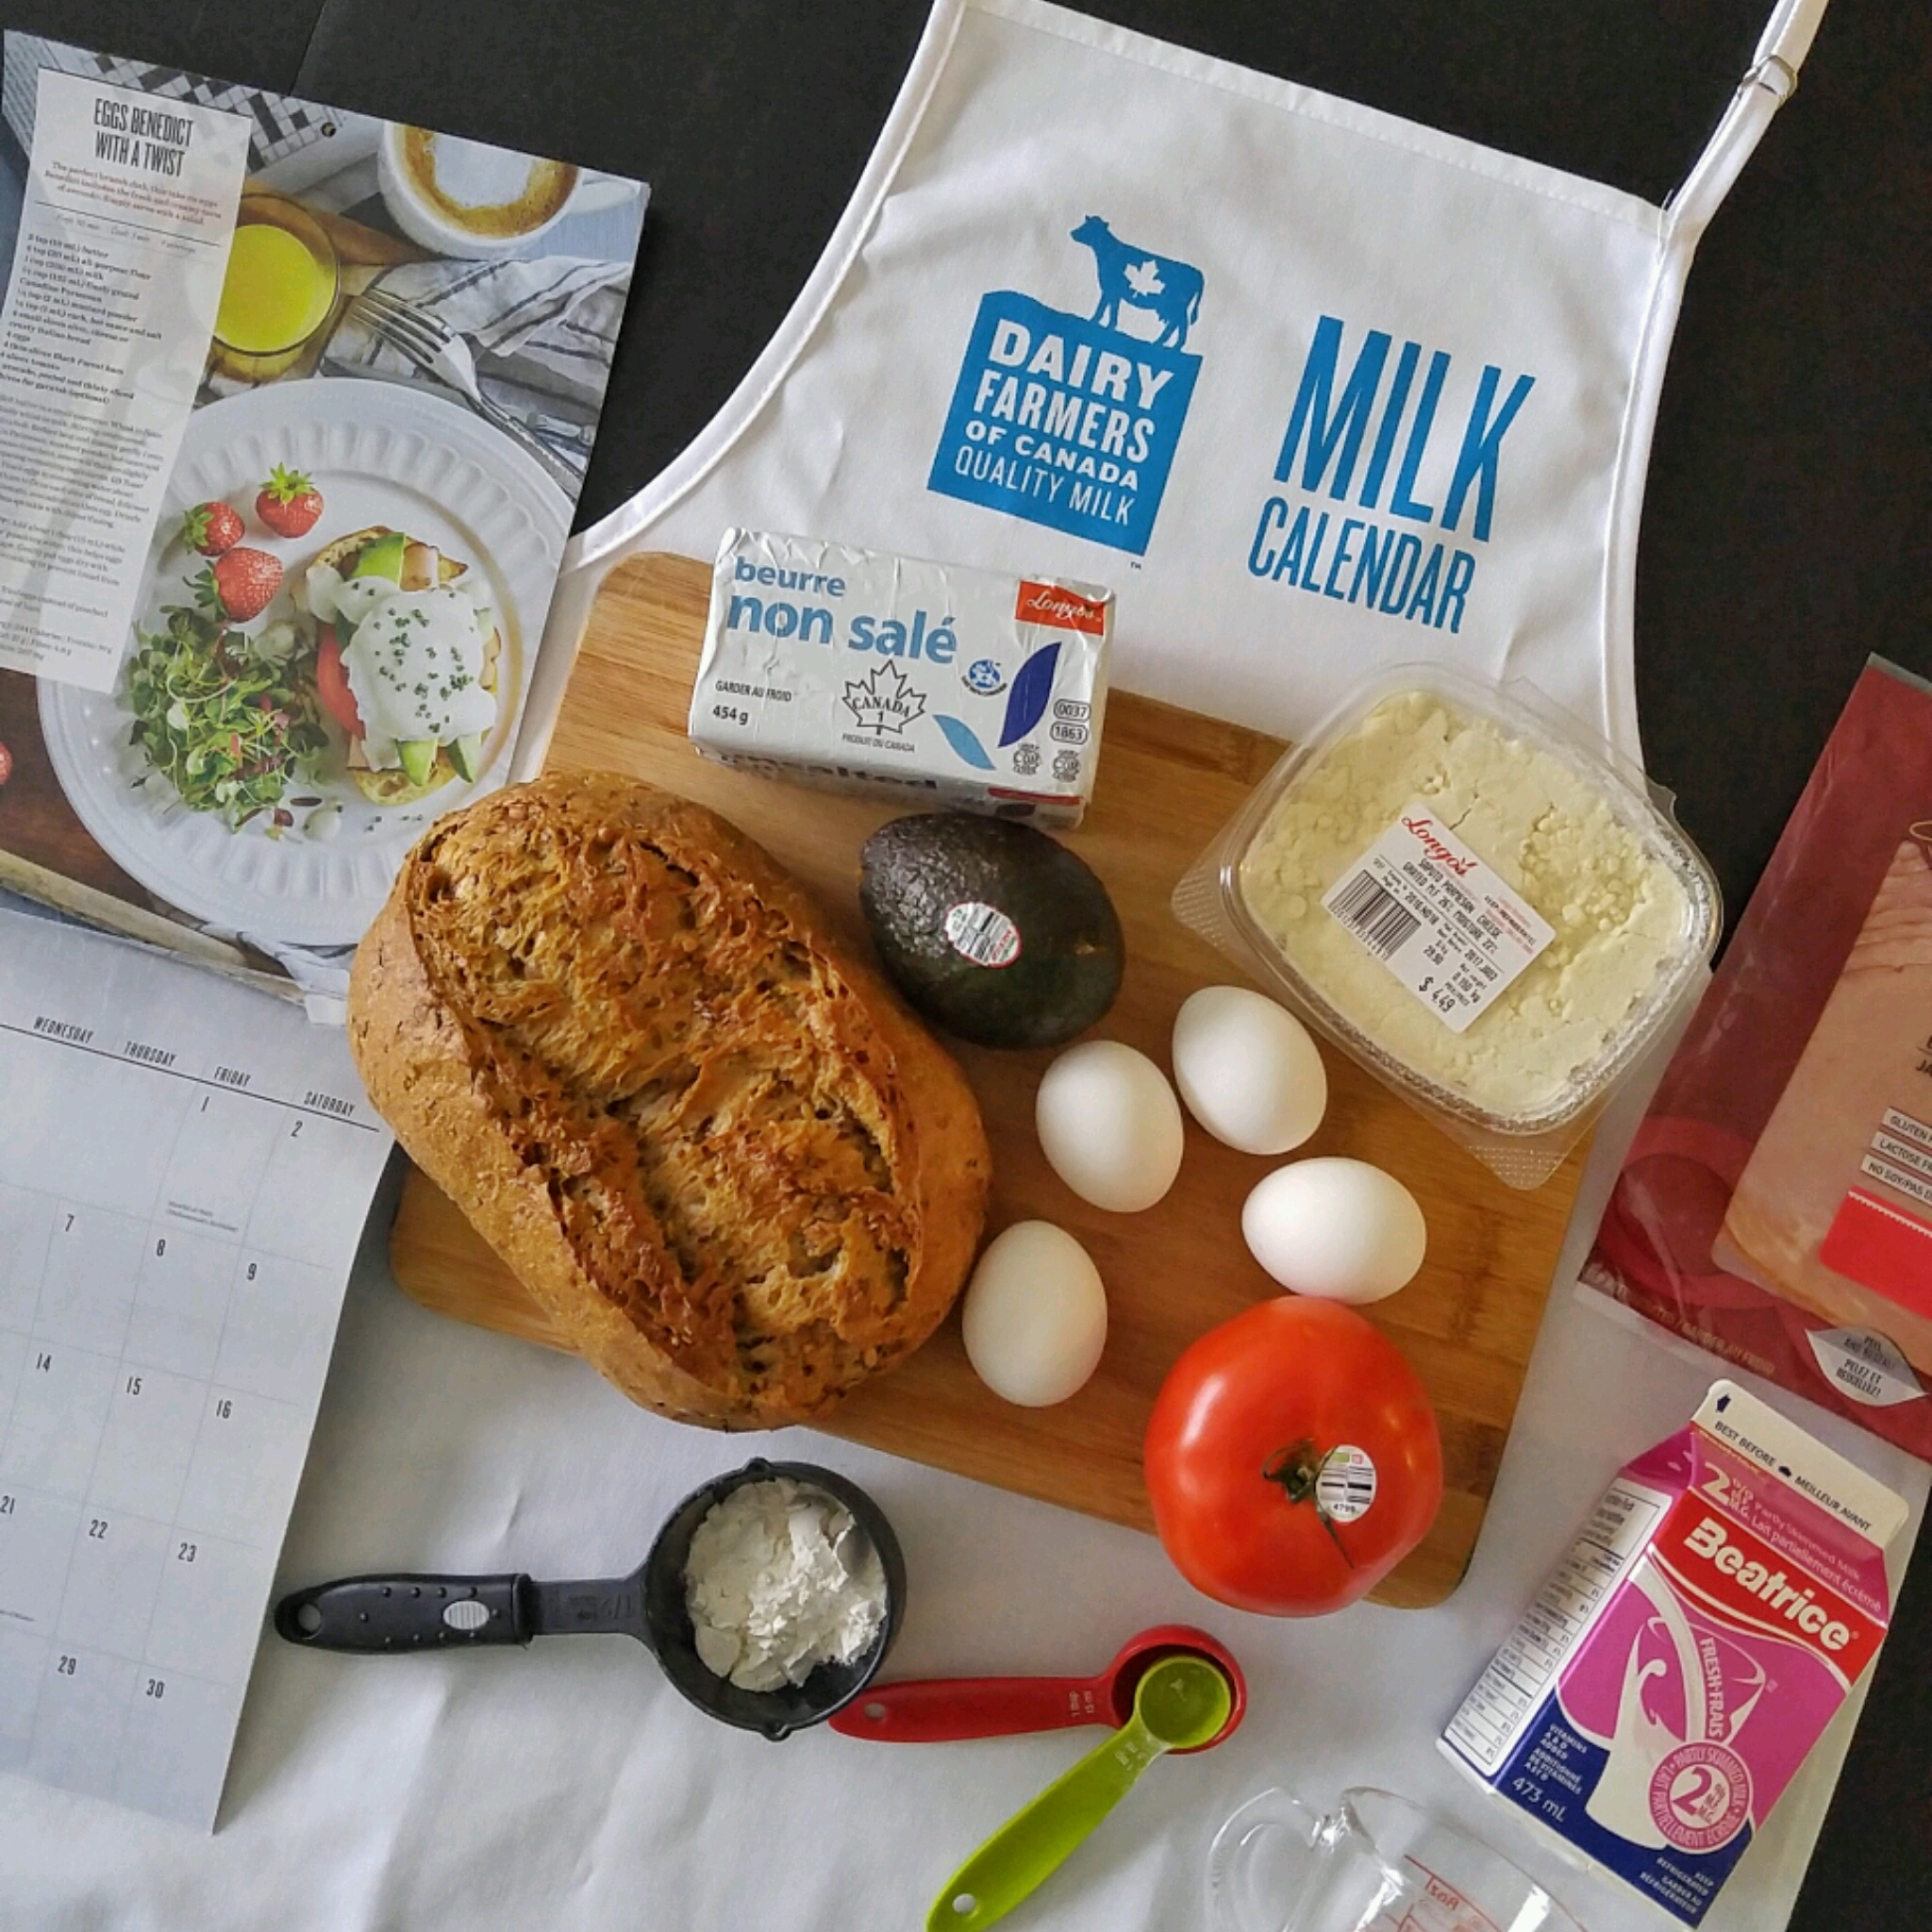
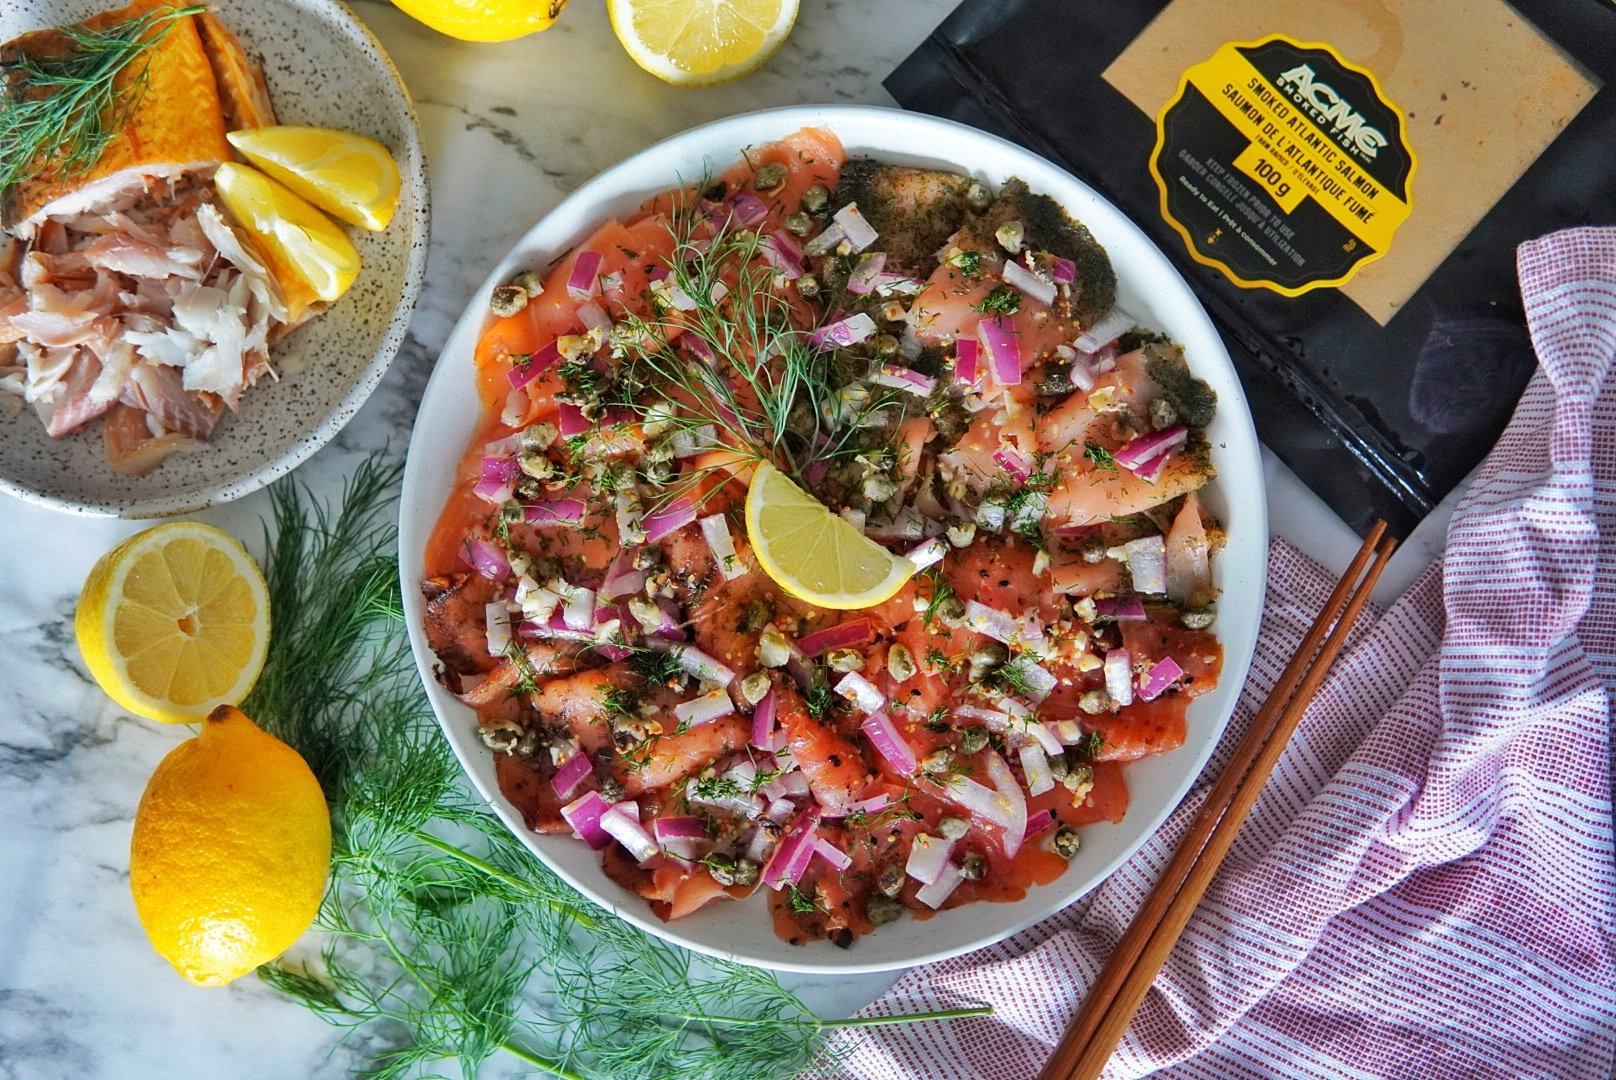
With all of these amazing smoked salmon varieties at my finger tips, you just know I had to create a recipe that would showcase Acme’s family tradition of quality. What better way to do that then making a Smoked Salmon Carpaccio! Normally a carpaccio just uses one type of fish, but because I have the luxury this time of having four different types, this smoked salmon carpaccio is elevated to another level where I have incorporated their classic Smoked Atlantic Salmon and with the other three Smoked Atlantic Salmon seasonings of Gravlax, Togarashi, and Pastrami. Literally something for everyone!
This recipe is then topped off with fried capers and herbs to make the ultimate appetizer to share with your friends and family. Not only does this recipe only take around 15 minutes to make, most of the ingredients you need for this are staple pantry items. Using the Acme Smoked Salmon as the star ingredient, it then gets lightly marinated in a lemony-shallot dressing which is then topped off with crispy pan-fried capers and fresh dill to truly make this dish a stand-out favourite.
Smoked Salmon Carpaccio (Four Ways) With Crispy Capers and Dill
Time: 15 minutes
Serves: 6 people
Ingredients
For The Dressing:
1/4 cup extra virgin olive oil
1 clove garlic, minced
1 tablespoon fresh lemon juice
1 teaspoon grainy dijon mustard
1 small shallot, thinly sliced
For The Crispy Capers:
2 tablespoons drained capers
1 teaspoon flour
2 tablespoons extra virgin olive oil
For The Salmon:
100 gram Acme Smoked Atlantic Salmon
100 gram Acme Smoked Atlantic Salmon with Gravlax Seasoning
100 gram Acme Smoked Atlantic Salmon with Togarashi Seasoning
100 gram Acme Smoked Atlantic Salmon with Pastrami Seasoning
1 tablespoon loosely chopped fresh dill to garnish
Freshly cracked black pepper to garnish
Instructions:
For the Dressing:
In a bowl, combine all the dressing ingredients and whisk until well combined. Set aside while you prepare the capers.
For the Crispy Capers:
In a small bowl, toss the drained capers in the flour until evenly coated.
Heat a small nonstick skillet over medium heat with olive oil. When the skillet is hot, add the capers to the skillet and cook until golden brown and crisp, about 3 minutes, tossing half way through. Transfer the capers to a paper towel lined plate and let cool.
For the Smoked Salmon:
Cut the four varieties of Acme Smoked Salmon into 2-inch pieces and arrange on a large plate in a single layer.
Spoon the dressing over the salmon evenly. Next, top with crispy capers. Lastly, finish the dish with fresh dill and cracked pepper.
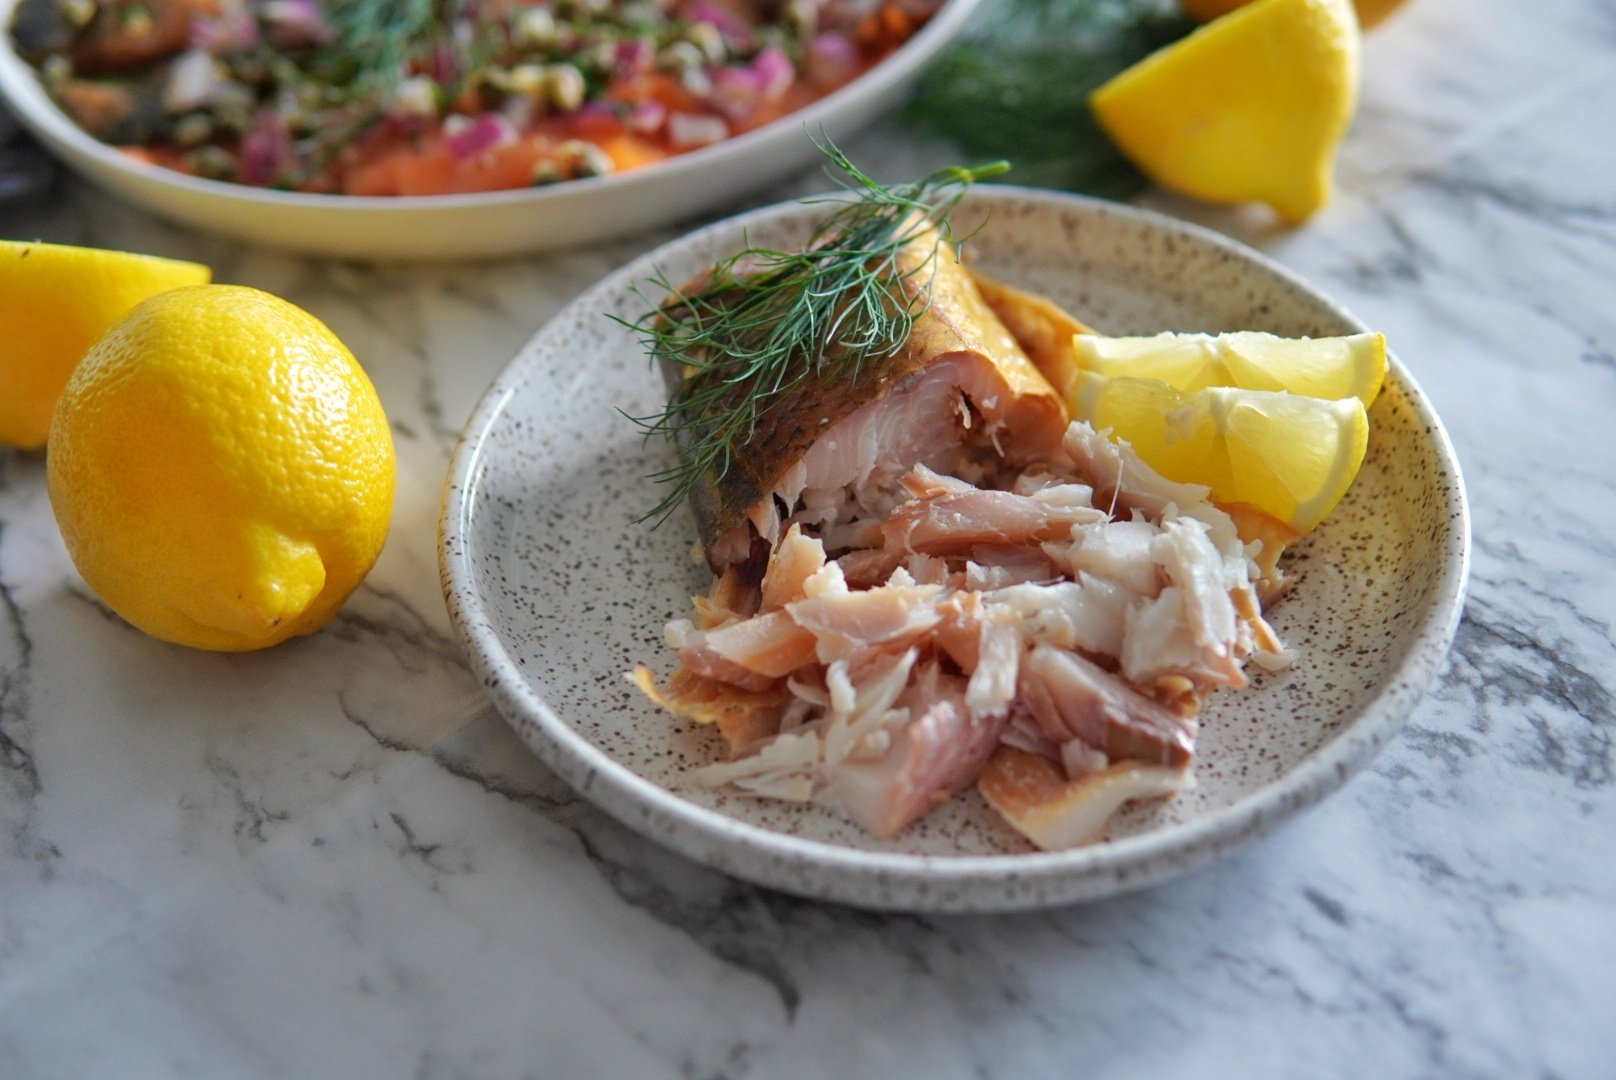
Bonus:
Serve with a side of ready-to-eat Acme Smoked Whitefish! Enjoy!

List of Toronto Retailers Carrying Acme Smoked Fish Products
PRIMROSE BAGEL
SUE’S DONHEAD
KOSHER SOBEYS
VINCENZOS
NU BAGEL
MCEWANS
NEW YORK BAGEL
KIVAS BAGEL
NU AGE FISH
NORTOWN MEATS EGLINTON
NORTOWN MEATS PROMENADE
NORTOWN MEATS YORK MILLS
SAVOURS SOUTH
SAVOURS NORTH
THE KOSHER GOURMET
UNITED BAKERS
CONCORD FOOD CENTRE
HARBORD BAKERY
MENCHENS CATERING
YOSEF MOKIR
OCTAGON REST
ABAS BAGELS
SOUL BAGEL
CAFÉ SHELI
D-LITES
TORONTO KOSHER
NO FRILLS WILSON